
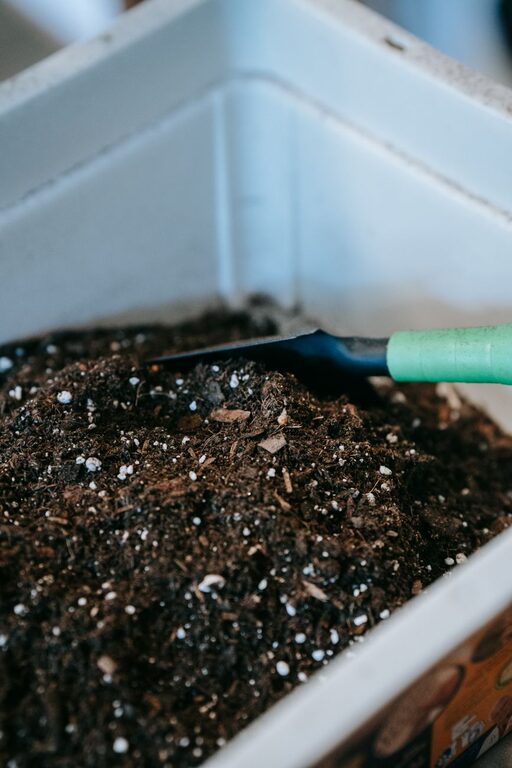
Composting is a fantastic way to turn everyday kitchen scraps and yard waste into nutrient-rich soil that benefits your garden and the environment. If you’re new to composting, it might seem a little intimidating at first, but with the right tips and a bit of patience, you can quickly get started and enjoy the rewards. This guide will walk you through the basics of home composting and offer beginner-friendly advice to make the process easy and successful.
What Is Composting?
Composting is the natural process of recycling organic material, such as food scraps and yard waste, into a dark, crumbly soil amendment known as compost. This “black gold” is packed with nutrients that improve soil health, boost plant growth, and reduce the need for chemical fertilizers.
Why Should You Compost at Home?
– Reduce Waste: Composting keeps food scraps and yard waste out of landfills.
– Enrich Soil: Compost improves soil structure, water retention, and nutrient content.
– Save Money: Using compost reduces the need for store-bought fertilizers.
– Help the Environment: Composting lowers greenhouse gas emissions from organic waste.
Getting Started: What You’ll Need
Choose a Compost Bin or Area
You can compost in various ways depending on your space and preference:
– Compost Bin: A container designed for composting; great for keeping things tidy.
– Compost Pile: An open pile in your backyard works well if you have space.
– Tumbler: A rotating bin that makes mixing compost easier.
Gather Materials: Browns and Greens
A healthy compost pile needs a balance of:
– Browns (Carbon-rich materials): Dry leaves, straw, cardboard, paper, wood chips.
– Greens (Nitrogen-rich materials): Fruit and vegetable scraps, coffee grounds, grass clippings.
Aim for roughly 3 parts browns to 1 part greens.
Beginner Tips for Successful Composting
1. Start Small
Don’t overwhelm yourself by trying to compost everything at once. Begin with a small pile or bin and gradually add materials as you go.
2. Chop and Shred Waste
Breaking items into smaller pieces speeds up decomposition. For example, cut up vegetable scraps and shred cardboard.
3. Maintain Moisture
Your compost should be as damp as a wrung-out sponge—moist but not soggy. Water it occasionally or cover it during dry spells.
4. Turn or Mix Regularly
Aerate the compost by turning it every 1–2 weeks. This adds oxygen, which helps microorganisms break down the materials more efficiently.
5. Avoid Adding Certain Items
Some things don’t belong in compost:
– Meat, dairy, and oily foods (can attract pests)
– Diseased plants or weeds with seeds
– Pet waste (may contain harmful bacteria)
6. Be Patient
Composting can take anywhere from a few weeks to several months depending on conditions. Finished compost looks dark, crumbly, and earthy-smelling.
Troubleshooting Common Composting Issues
Smelly Compost
A bad odor usually means your pile is too wet or contains too many greens. Add more browns and turn the pile.
Slow Decomposition
If your pile isn’t breaking down, it may be too dry, too cold, or lacking in nitrogen. Adjust moisture, move the compost to a sunnier spot, and add fresh greens.
Pests
To avoid attracting rodents or flies, bury food scraps under a layer of browns and keep your bin covered.
Using Your Finished Compost
Once your compost is ready, use it to:
– Mix with garden soil to improve fertility.
– Top-dress flower beds or vegetable gardens.
– Enrich potting soil for indoor and outdoor plants.
– Mulch around trees and shrubs.
Final Thoughts
Starting a composting routine at home is easier than you might think, and it offers big benefits for your garden and the planet. With the right balance of materials, regular maintenance, and a little patience, you’ll soon be transforming waste into nutrient-rich compost that nourishes your plants. Give it a try—your garden will thank you!
Happy composting!