
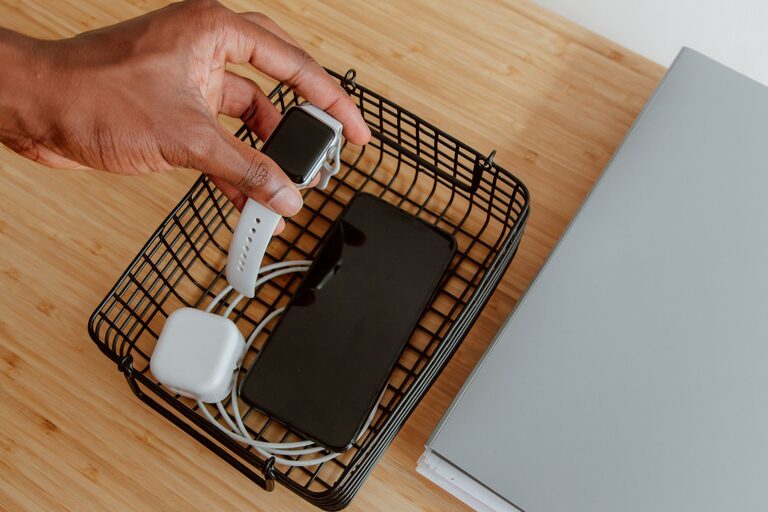
Setting up a dedicated charging station for your devices can help you stay organized, reduce clutter, and ensure that all your gadgets are ready to go when you need them. Whether you have smartphones, tablets, smartwatches, or other rechargeable electronics, a well-planned charging station saves time and keeps your space tidy. In this guide, we’ll walk you through the steps to create your own charging station at home, complete with tips on choosing the right equipment and managing cables.
Why You Need a Charging Station
With so many devices in our daily lives, charging them can quickly become a hassle. Devices scattered around the house, tangled cords, and limited outlets can cause frustration. A charging station:
– Centralizes your devices in one place
– Helps prevent lost chargers and cables
– Reduces clutter and keeps surfaces neat
– Makes charging quick and efficient
Step 1: Choose the Location
Pick a spot in your home that’s easily accessible and visible. Common locations include:
– A desk or side table in the living room
– A corner of the kitchen counter
– A bedside table in the bedroom
– A dedicated shelf or drawer near an outlet
Make sure the area has access to power outlets and enough space to hold your devices comfortably.
Step 2: Select the Right Charging Equipment
Choosing the right charging equipment is essential for safety and convenience. Here are some options:
Charging Hubs
A multi-port USB charging hub allows you to plug several devices into one unit. Look for models with enough USB ports for your current devices and some extra for future needs.
Wireless Chargers
For compatible devices, wireless charging pads or stands reduce the need for cords. Consider a wireless charging station that can handle multiple devices simultaneously.
Power Strips with USB Ports
A power strip with built-in USB ports is handy when you need to plug in chargers and other electronics at once.
Device Stands or Holders
Organize your devices with stands or holders designed to keep them upright during charging.
Step 3: Gather the Necessary Accessories
To keep your charging station neat and functional, you may need:
– Cable organizers or clips to prevent tangling
– Velcro straps or ties for bundling cables
– Labels to identify cords or charging ports
– Small trays or containers for earbuds, adapters, and other accessories
Step 4: Set Up the Station
Arrange the Chargers and Devices
Place your charging hub or power strip near the outlet. Connect chargers and arrange your devices on the station, making sure they’re within easy reach and not blocking each other.
Manage Cables
Use cable organizers to route cords neatly. Bundle excess cable length to avoid tangles. If possible, position cables so they don’t cross walkways or clutter surfaces.
Add Personal Touches
Consider adding a small lamp, decorative tray, or a plant to make your charging station appealing. This encourages regular use and keeps the space inviting.
Step 5: Maintain Your Charging Station
Regularly clean and inspect the charging area to avoid dust buildup and to check for any damaged cables. Keep the station organized by returning devices and accessories to their spots each time.
Tips for a Successful Charging Station
– Prioritize device compatibility: Make sure your chargers support the voltage and charging standards of your devices.
– Label cables: Labeling can save time and prevent unplugging the wrong device.
– Plan for ventilation: Avoid placing devices on soft surfaces that block air circulation.
– Use surge protectors: Protect your devices from power fluctuations with a surge-protected power strip.
Final Thoughts
Setting up a charging station is a practical way to simplify daily routines and keep your gadgets ready to use. With thoughtful planning and the right tools, you can create a clutter-free, efficient space that works for your lifestyle. Start with a small setup and expand as your device collection grows. Enjoy the convenience of having all your devices organized and charged in one spot!